Basic Vanilla Buttercream
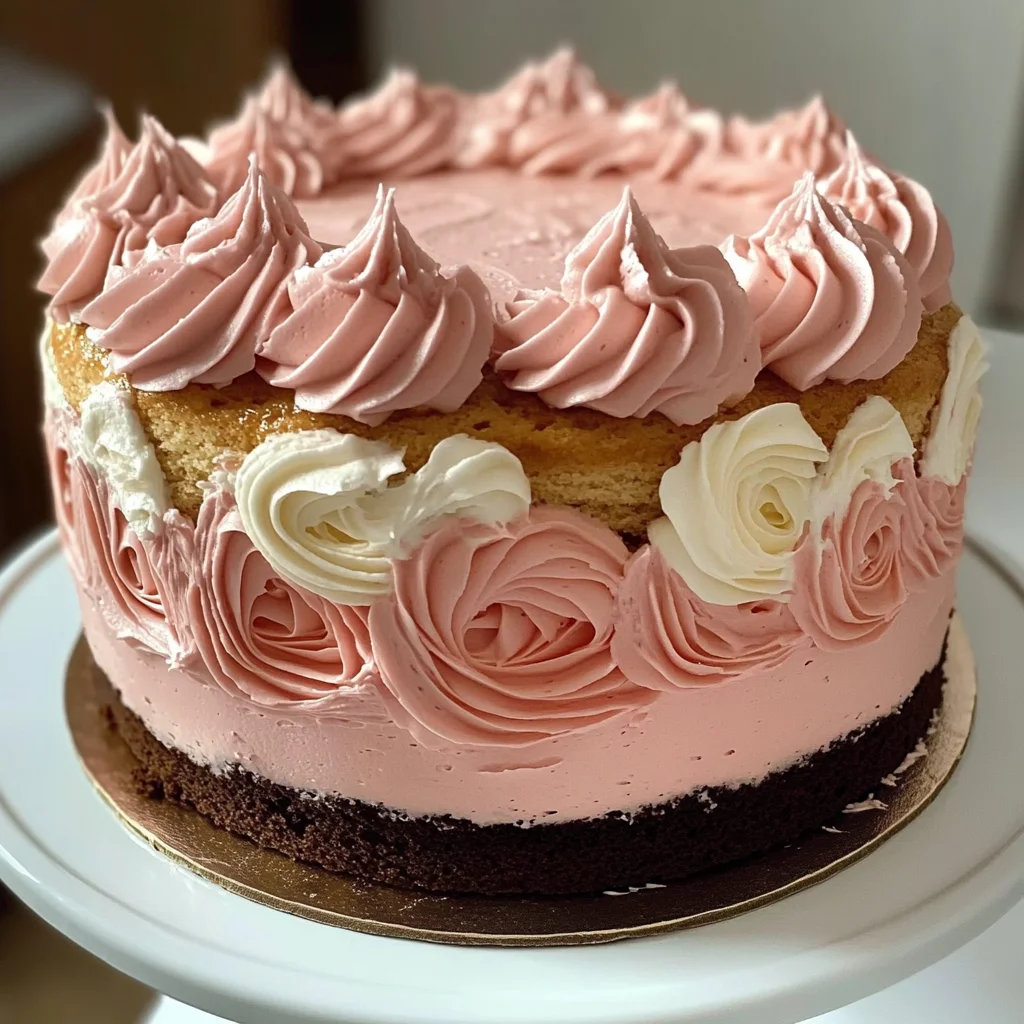
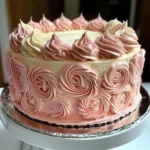
The Basic Vanilla Buttercream is a delightful addition to any cake, especially the classic Neapolitan Rose Cake. This creamy, sweet frosting is perfect for birthdays, weddings, or just because you want to indulge. With its rich vanilla flavor and smooth texture, it elevates your desserts and makes them truly special. Plus, it’s incredibly easy to whip up at home!
Why You’ll Love This Recipe
- Quick to Prepare: You can make this buttercream in just 15 minutes, making it a time-saver for last-minute baking.
- Deliciously Versatile: Use it on cakes, cupcakes, or even cookies. Its classic flavor pairs well with many desserts.
- Easy to Customize: Add different flavors or colors to suit your occasion, making it your own signature frosting.
- Smooth and Creamy Texture: The whipped consistency makes for easy spreading and decorating on any dessert.
Tools and Preparation
To create the perfect Basic Vanilla Buttercream, you’ll need some essential tools. Having the right equipment ensures that your frosting turns out beautifully each time.
Essential Tools and Equipment
- Stand mixer
- Whisk attachment
- Measuring cups
- Sifter
- Mixing bowl
Importance of Each Tool
- Stand mixer: This tool saves you time and effort by mixing ingredients thoroughly without manual labor.
- Whisk attachment: Ensures that your buttercream becomes light and fluffy by incorporating air during mixing.
- Sifter: Helps eliminate lumps in confectioners’ sugar for a smoother frosting texture.
Ingredients
This is the original Neapolitan Rose Cake… everything else is just a copy!
For the Basic Vanilla Buttercream
- 1 cup (2 sticks / 227 g) unsalted butter, (softened)
- 2 teaspoons McCormick® Pure Vanilla Extract
- 32 ounces confectioners’ sugar, (sifted)
- 2 tablespoons whole milk, (up to ½ cup)
- pinch kosher salt
How to Make Basic Vanilla Buttercream
Step 1: Beat the Butter
Beat unsalted butter in the bowl of a stand mixer with the whisk attachment on medium-high speed until light and fluffy, which usually takes about 3 minutes.
Step 2: Add Vanilla Extract
Add vanilla extract. This will give your buttercream its signature flavor.
Step 3: Incorporate Sugar and Milk
With the mixer set on low speed:
1. Slowly add in confectioners’ sugar, whole milk, and a pinch of kosher salt.
2. Remember to frequently scrape the sides and bottom of the bowl to ensure all ingredients are mixed evenly.
Step 4: Whip Until Fluffy
Once all ingredients are incorporated:
1. Increase the mixer speed to medium-high or high.
2. Whip the frosting for at least 3 minutes (my mixer went for about 7 minutes) until it’s airy and fluffy.
Step 5: Adjust Consistency
If your frosting is too thick to spread easily:
1. Gradually beat in additional milk, one tablespoon at a time, until you reach your desired consistency.
This Basic Vanilla Buttercream recipe is sure to delight anyone who tries it—perfect for enhancing your Neapolitan Rose Cake or any other dessert you wish to elevate!
How to Serve Basic Vanilla Buttercream
Serving Basic Vanilla Buttercream can elevate any dessert, adding a delightful touch of sweetness and creaminess. Here are some creative ways to present this delicious frosting.
On Cakes
- Layered Cakes: Use Basic Vanilla Buttercream between layers of your favorite cake for added moisture and flavor.
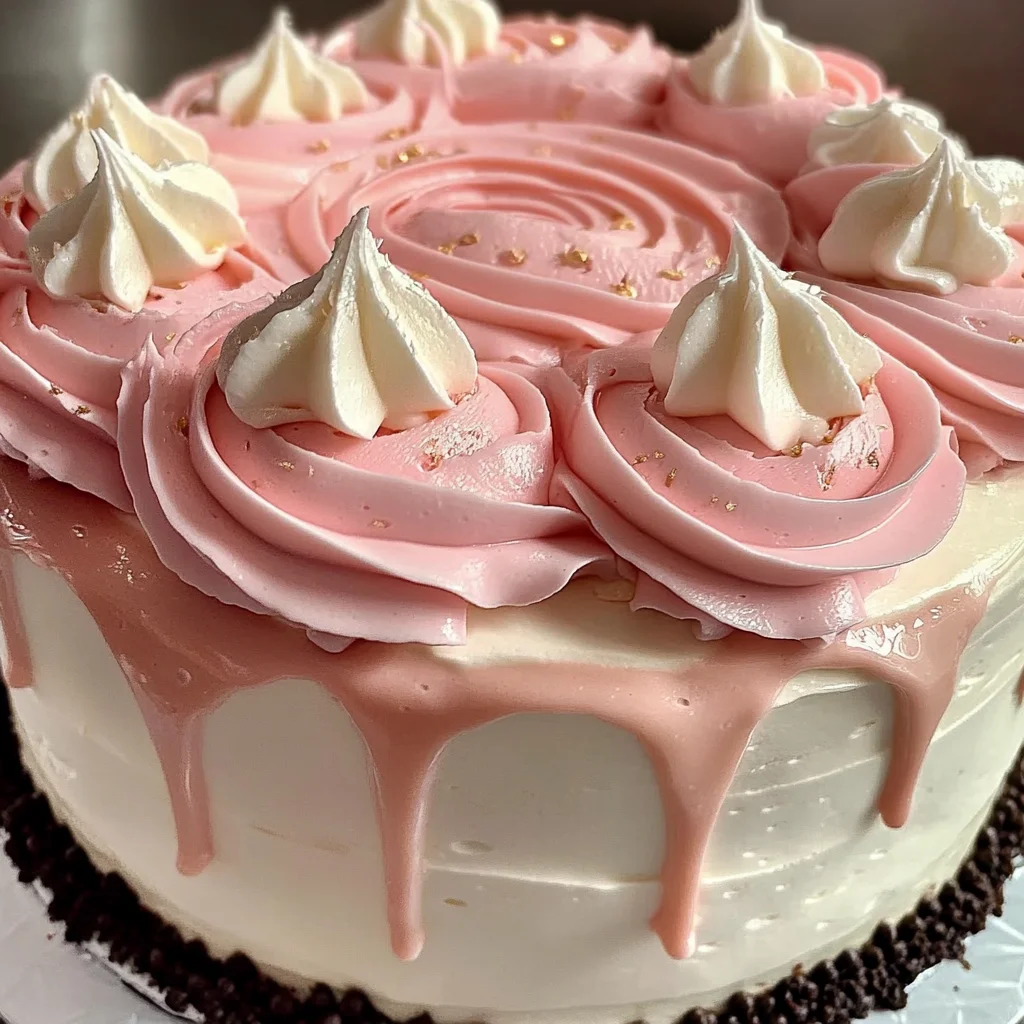
- Decorative Topping: Spread or pipe the buttercream on top of cakes for an elegant finish.
As Cupcake Frosting
- Classic Cupcakes: Pipe Basic Vanilla Buttercream onto vanilla or chocolate cupcakes for a classic treat.
- Themed Decorations: Use food coloring to create vibrant buttercream for themed cupcakes.
For Cookies
- Sandwich Cookies: Spread the buttercream between two cookies for a sweet sandwich delight.
- Frosted Cookies: Apply a generous layer of frosting on top of sugar or gingerbread cookies.
With Fruit
- Fruit Dip: Serve Basic Vanilla Buttercream as a dip for fresh fruit like strawberries or apple slices.
- Topped on Fruit Tarts: Use it as a filling or topping for fruit tarts to enhance sweetness.
How to Perfect Basic Vanilla Buttercream
To achieve the perfect consistency and flavor in your Basic Vanilla Buttercream, consider these tips.
- Start with Softened Butter: Ensure your butter is at room temperature to achieve a light and fluffy texture easily.
- Sift the Sugar: This prevents lumps in your frosting, making it smoother and easier to spread.
- Adjust Milk Gradually: Add milk slowly until you reach the desired consistency; too much can make it runny.
- Whip Thoroughly: Beat the frosting long enough to incorporate air, ensuring it’s light and airy.
- Flavor Variations: Experiment with additional flavors like almond extract or citrus zest to personalize your buttercream.
Best Side Dishes for Basic Vanilla Buttercream
Basic Vanilla Buttercream pairs wonderfully with various side dishes that complement its sweet flavor. Here are some great options:
- Fruity Salad: A mix of fresh fruits balances the sweetness of the buttercream and adds freshness.
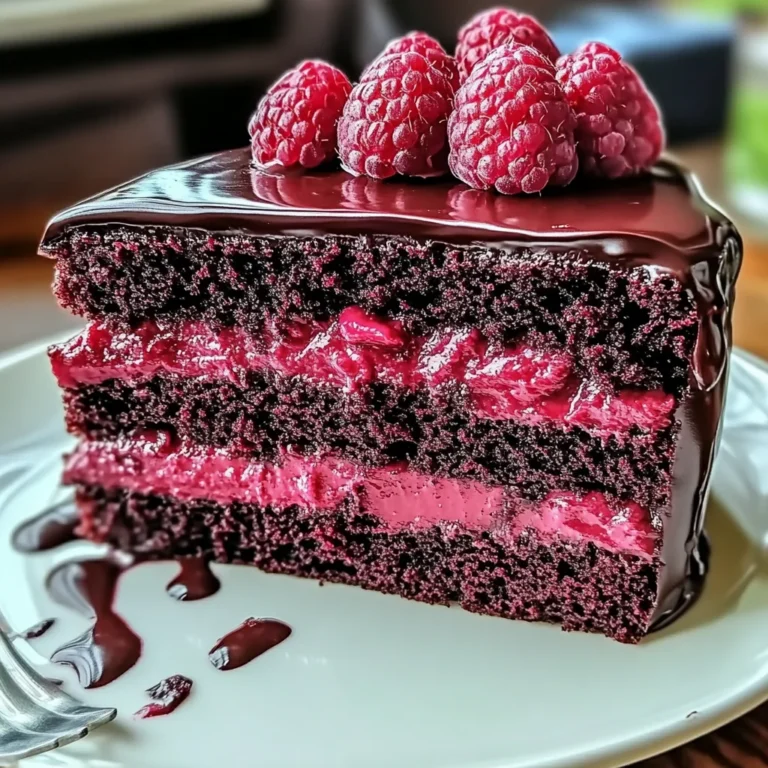
- Chocolate Cake Slices: The richness of chocolate cake makes an excellent pairing with sweet vanilla frosting.
- Cheesecake Bites: Mini cheesecakes topped with Basic Vanilla Buttercream create a delightful dessert duo.
- Pound Cake Slices: Serve slices of pound cake drizzled with buttercream for a simple yet satisfying treat.
- Brownie Squares: Top warm brownies with a dollop of buttercream for an indulgent experience.
- Ice Cream Cups: A scoop of vanilla ice cream topped with Basic Vanilla Buttercream creates a creamy dessert alternative.
Common Mistakes to Avoid
When making Basic Vanilla Buttercream, it’s easy to make small errors that can affect the final product. Here are common mistakes and how to avoid them.
- Not Softening the Butter: Using cold butter will lead to a lumpy frosting. Always soften the butter at room temperature for a smooth texture.
- Skipping the Sifting: If you skip sifting the confectioners’ sugar, your frosting may have lumps. Always sift before measuring for a silky finish.
- Adding Too Much Milk: Overdoing the milk can make your buttercream too runny. Start with less and gradually add until you reach the desired consistency.
- Under-Whipping: Failing to whip the frosting long enough results in a dense texture. Aim for at least 3 minutes on medium-high speed for fluffiness.
- Ignoring Salt: A pinch of kosher salt enhances sweetness and depth. Never skip this step for balanced flavor.
Storage & Reheating Instructions
Refrigerator Storage
- Store in an airtight container for up to one week.
- Make sure to let it cool completely before sealing.
Freezing Basic Vanilla Buttercream
- Freeze in an airtight container for up to three months.
- Label with the date for easy tracking.
Reheating Basic Vanilla Buttercream
- Oven: Place in an oven-safe bowl on low heat, stirring occasionally until softened.
- Microwave: Heat in short bursts (5-10 seconds) at low power, checking frequently to avoid melting.
- Stovetop: Use a double boiler method, gently heating while stirring until soft.
Frequently Asked Questions
Here are some frequently asked questions about Basic Vanilla Buttercream.
What is Basic Vanilla Buttercream?
Basic Vanilla Buttercream is a classic frosting made with butter, sugar, vanilla, and milk. It’s perfect for cakes and cupcakes.
How do I store Basic Vanilla Buttercream?
Store it in an airtight container in the refrigerator for up to one week or freeze it for up to three months.
Can I customize Basic Vanilla Buttercream?
Absolutely! You can add cocoa powder for chocolate buttercream or fruit purees for different flavors.
Why is my Basic Vanilla Buttercream too runny?
If your buttercream is too runny, you likely added too much milk. Gradually mix in more confectioners’ sugar until you achieve the right consistency.
Final Thoughts
The Basic Vanilla Buttercream recipe is simple yet versatile, making it ideal for various desserts. You can easily customize this frosting by adding flavors or colors to match your occasion. Give it a try and enjoy its delightful taste!
Basic Vanilla Buttercream
Basic Vanilla Buttercream is the quintessential frosting that transforms any cake, cupcake, or cookie into a delightful treat. With its rich vanilla flavor and smooth, creamy texture, this buttercream is perfect for birthdays, weddings, or simply indulging in your favorite desserts. In just 15 minutes, you can whip up this versatile frosting at home, making it easy to customize with different flavors or colors. Whether you’re spreading it on layered cakes or piping it onto cupcakes, this easy vanilla buttercream will elevate your baking experience.
- Prep Time: 15 minutes
- Cook Time: 0 minutes
- Total Time: 15 minutes
- Yield: Approximately 12 servings 1x
- Category: Dessert
- Method: Mixing
- Cuisine: American
Ingredients
- 1 cup (2 sticks / 227 g) unsalted butter (softened)
- 2 teaspoons McCormick® Pure Vanilla Extract
- 32 ounces confectioners' sugar (sifted)
- 2 tablespoons whole milk (up to ½ cup)
- Pinch kosher salt
Instructions
- Beat the softened unsalted butter in a stand mixer bowl on medium-high speed until light and fluffy (about 3 minutes).
- Add the vanilla extract and mix until combined.
- Gradually add the sifted confectioners' sugar and whole milk while mixing on low speed. Scrape the bowl frequently.
- Increase speed to medium-high and whip for at least 3 minutes until airy and fluffy.
- If too thick, gradually mix in additional milk until desired consistency is reached.
Nutrition
- Serving Size: 30g
- Calories: 120
- Sugar: 15g
- Sodium: 50mg
- Fat: 6g
- Saturated Fat: 4g
- Unsaturated Fat: 1g
- Trans Fat: 0g
- Carbohydrates: 17g
- Fiber: 0g
- Protein: <1g
- Cholesterol: 30mg